HOW THE PLANETS WERE CREATED
The process has three main stages.
1. DO THE POUR PAINTING
2. PLACE THE LIDS/CIRCLES/STARS IN POSITION
3. ADD FLICKS OF PAINT/GLITTER/GEMS TO CREATE MOVEMENT
The process has three main stages.
1. DO THE POUR PAINTING
2. PLACE THE LIDS/CIRCLES/STARS IN POSITION
3. ADD FLICKS OF PAINT/GLITTER/GEMS TO CREATE MOVEMENT

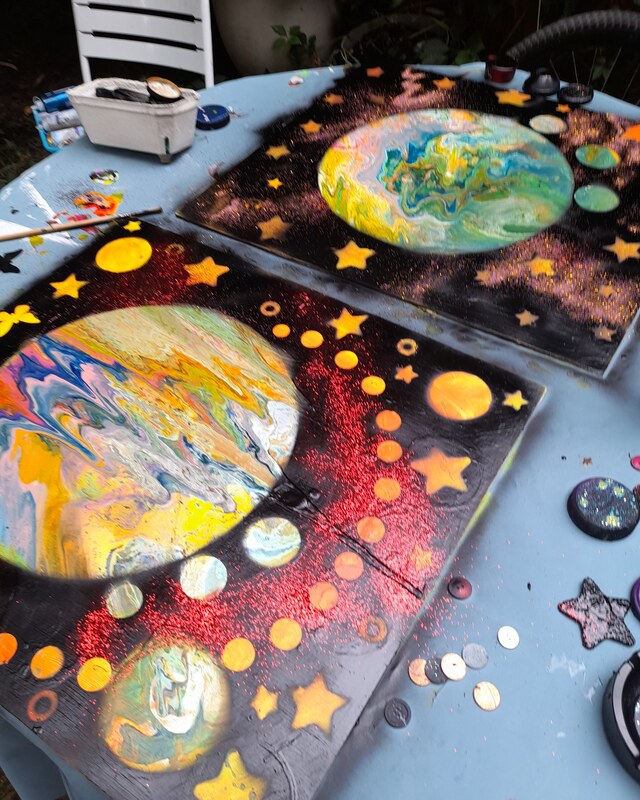
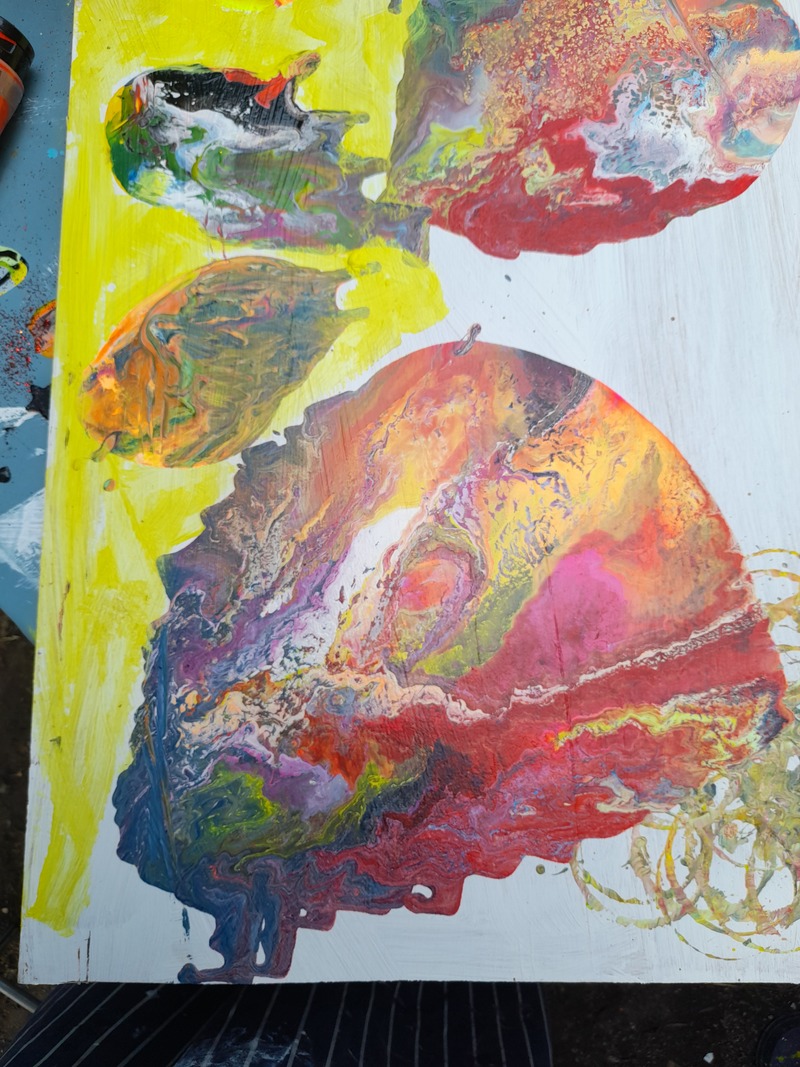
Acrylic 'pour' paint is the medium used. This will take 12 to 24 hours to dry before you can do the spray painting. The negative space is painted yellow/orange for the stars.

THE PROCESS
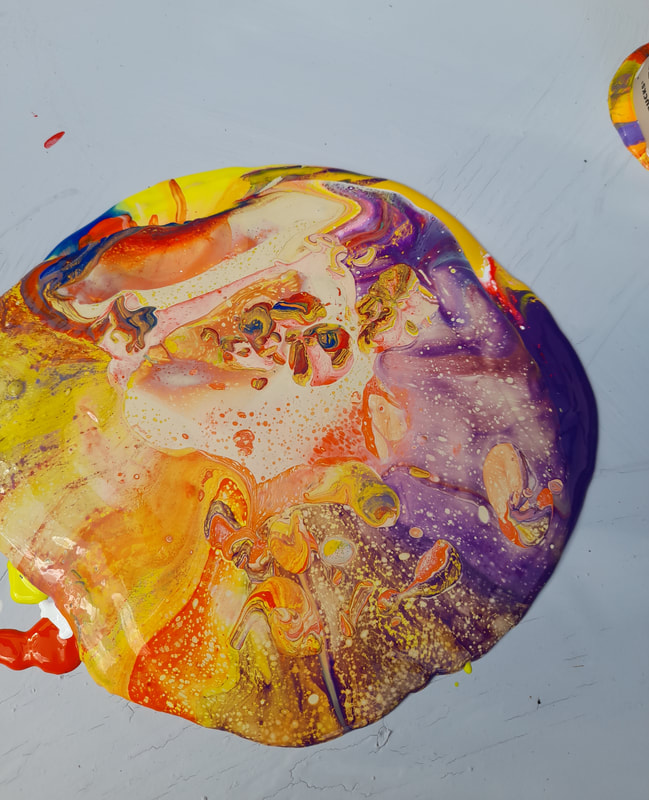
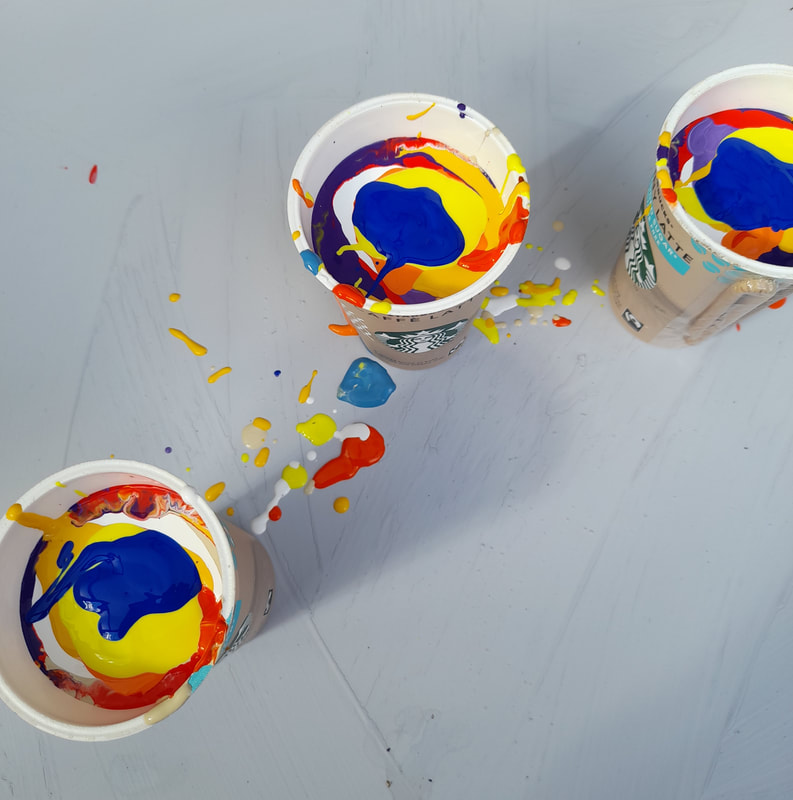
1.Firstly pour layers of acrylic pouring paint into a cup. Do not mix them. You need ten to twenty paints to build up the layers.
2.Flip the cup over onto a primed board. Let the paint ease out gently and when settled start tipping the board from side to side so that the paint goes as far as it can. At this stage there are no circles but patterns and cells form in the paint creating the areas that will be the planets.
2.Flip the cup over onto a primed board. Let the paint ease out gently and when settled start tipping the board from side to side so that the paint goes as far as it can. At this stage there are no circles but patterns and cells form in the paint creating the areas that will be the planets.

SECOND STAGE
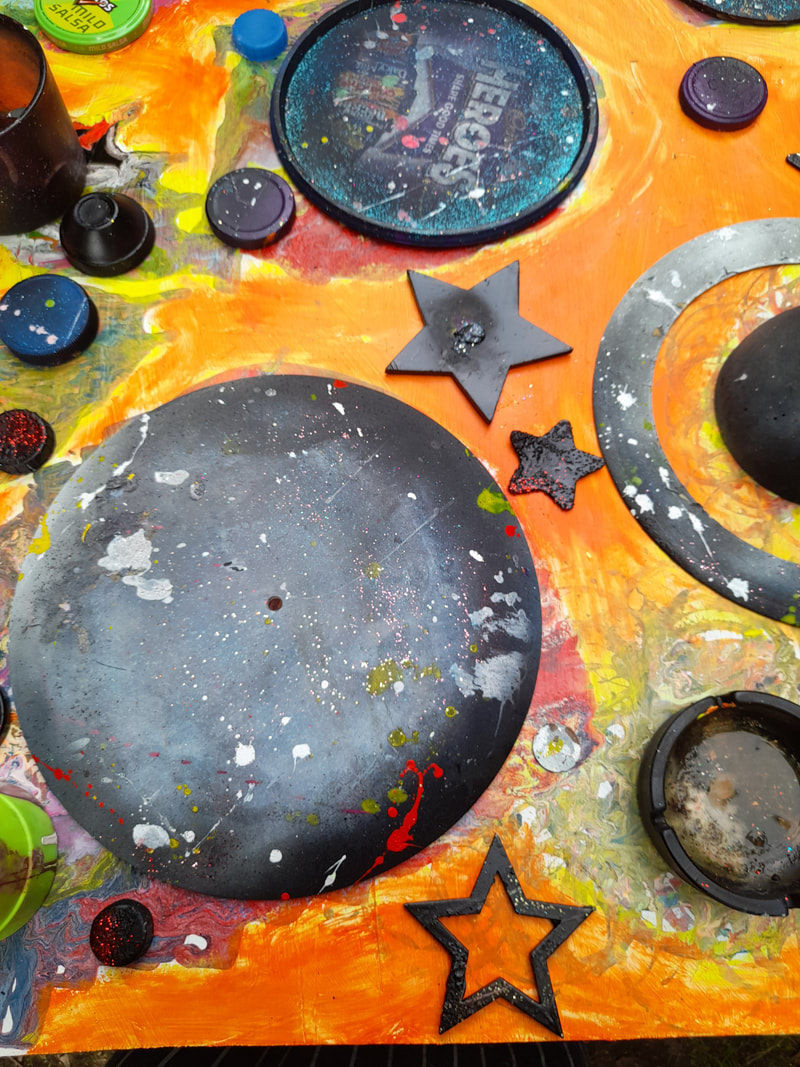
1. Once the board is dry, paint the negative area (white space) with yellow or orange. Don't worry if it looks messy.
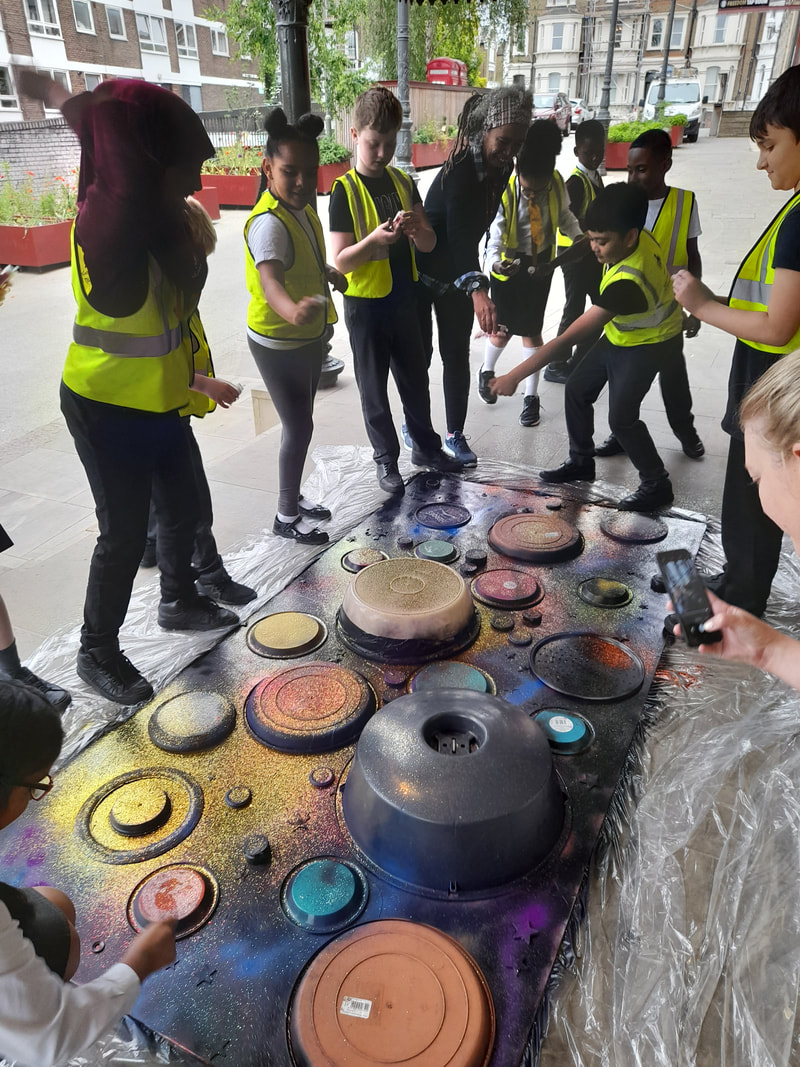
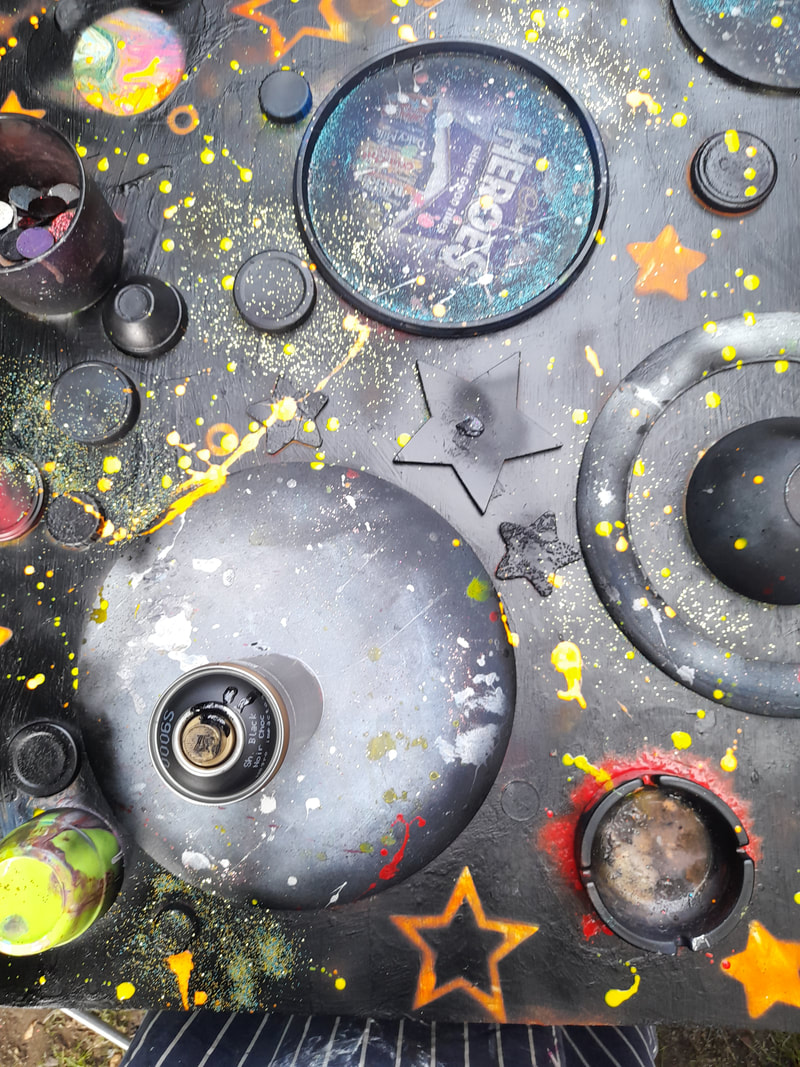
2. Place various sizes of lids, circles and stars around the board.
3. Spray paint with black and blue spray paint.
4. Flick glitter onto the board while spray paint is well. Splash different coloured paints onto the board while lids are still in place.
1. Once the board is dry, paint the negative area (white space) with yellow or orange. Don't worry if it looks messy.
2. Place various sizes of lids, circles and stars around the board.
3. Spray paint with black and blue spray paint.
4. Flick glitter onto the board while spray paint is well. Splash different coloured paints onto the board while lids are still in place.